Game Features
Table Settings Table resizing, tiling and cascading Resizing:
In order to resize any of your open tables, place your cursor on one of the screen's corners and drag it up or down and complete table will resize to scale.
You can resize your table to a minimum size of 500x365 pixels and a maximum as much as your screen resolution permits.
Tiling:
Table tiling allows you to view nine full table screens simultaneously. The tables are automatically adjusted to fit your screen at a size of 500x365 pixels each.
Any additional open tables, tournament lobbies and poker lobby screens will appear in cascade view on your screen.
Cascading:
Cascading enables you to view multiple tables at once in a proportioned diagonal layout. The tables are automatically adjusted to fit your screen at a size of 800x570 pixels each
Disabling Chat
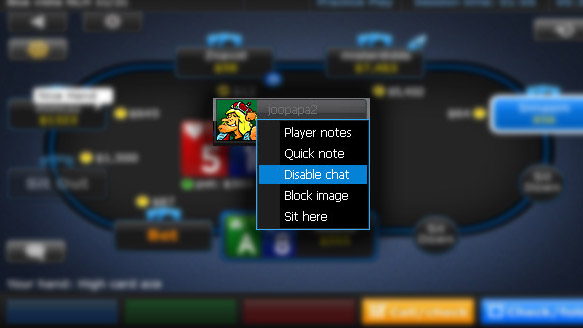
Poker Table Chat can be fun and informative, but we want you to be able to choose exactly who you would like to chat with. If you do not wish to converse with any particular Member, simply right click on their seat and an option box will open. Click on "Disable Chat" to no longer view Chat Messages from that player.
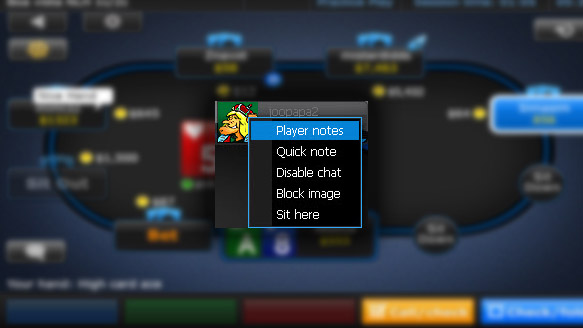
A player notes window
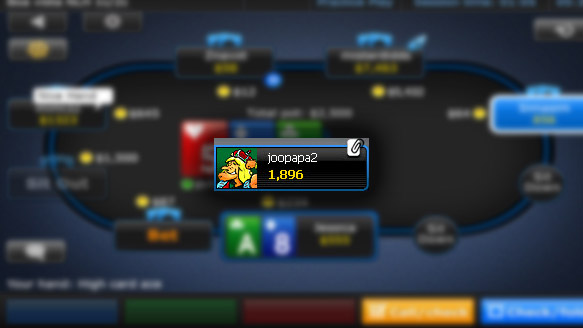
will appear where you can write anything you like about the player and assign him a coloured label. You are able to choose one of the default texts or alternatively click on a field to insert your own text. You may also tag the player with one of the animal icons in the screen. Once you’ve marked the label you wish to give the player, click on Save. Once you return to the table, your label in addition to a notes icon will appear on the players' name plate. To view the text, mouse over the label. To read and edit your notes, you can click on the notes icon.
Tournament Information Box
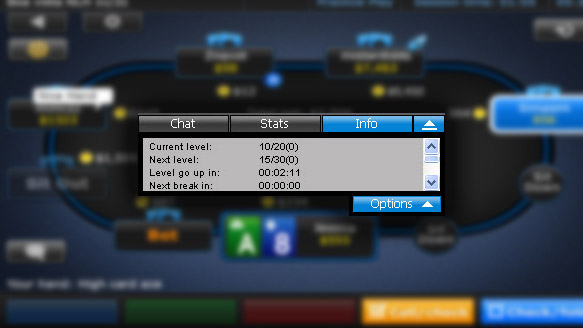
In order to access information about your selected tournament, you no longer have to switch to the tournament lobby. Just click the Info tab on the chat box to see information about your tournaments, such as the number of players left in each tournament, your current position and the highest, lowest and average stacks.
Hand History settings
All your played hands history can be saved in text files on your hard drive. This means that later on, you can view your hands in a text editor or import your hands to external software to analyze your game.
In order to begin writing your hand history to the hard drive, go to the User Settings screen and choose the Game settings tab, and the “Hand History” option.
To save all of your hand history, check the “Save My Hand History” box.
Once this option is enabled, every hand you play will be saved in the destination folder. This can be moved to a different location through selecting the “Change Folder” button.
By entering your preferred time period in the “Days to keep Hand History” field, you can also choose the number of days your Hand History is saved.
Good luck and enjoy the tables!


